Cases
Product Development
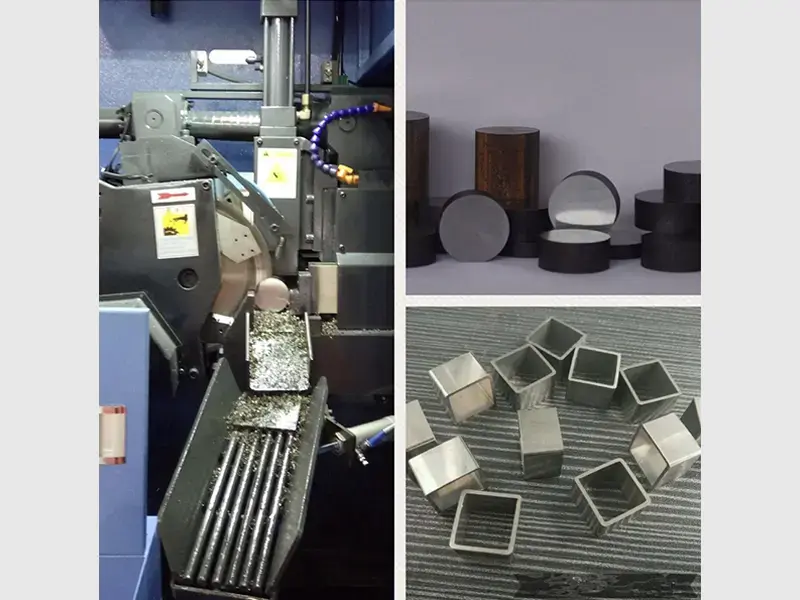
Metallographic analysis includes sample preparation, metallographic microscope observation, and image analysis and data processing. Sample preparation is the first step of metallographic analysis, involving cutting, grinding, etching and polishing, etc. The quality of this step directly affects the analysis results. Subsequently, a metallographic microscope is used to observe the microstructure of the material, and the appropriate magnification and light source are selected to obtain clear tissue images. Finally, the image acquisition, analysis and data processing are automatically completed by the image analysis system to improve the accuracy and efficiency of the analysis. Use metallurgical microscope to magnify and observe the microstructure of the sample, analyze the grain size, inclusions distribution, phase transformation and other characteristics of the material.
Detecting the hardness and fracture toughness of the cutter head is essential to ensure tool performance and machining process reliability.
1. comprehensive performance assessment: hardness and fracture toughness are two key indicators of tool material performance. Hardness reflects the ability of the tool bit to resist plastic deformation, while fracture toughness measures the ability of the tool bit to resist crack extension. The testing of both provides a comprehensive assessment of the overall performance of the tool material.
2. reduce tool wear: high hardness of the cutter head is more resistant to wear, and high fracture toughness of the cutter head is more resistant to wear caused by crack formation and expansion.
3. improve machining accuracy: hardness and fracture toughness testing helps to select tools that maintain cutting accuracy, especially in precision machining.
Equipments and Cases
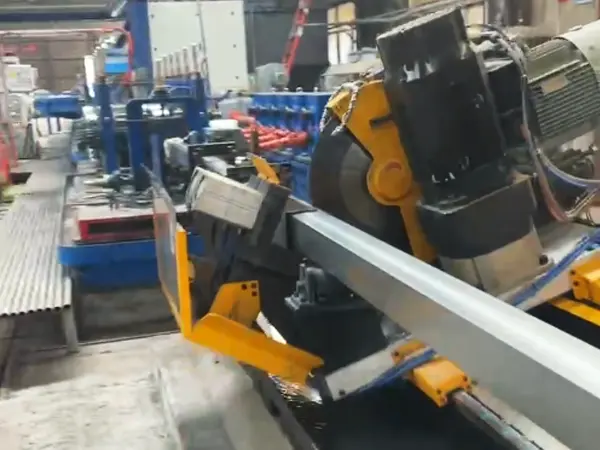
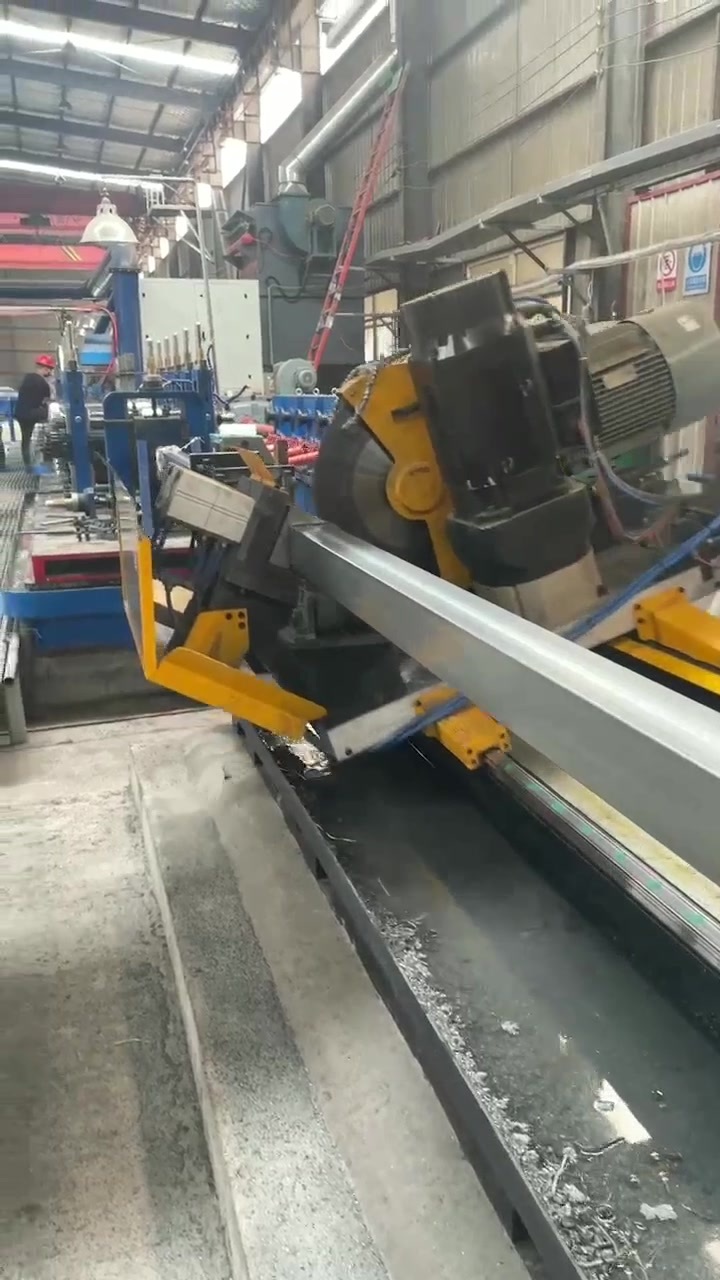
Equipment Case
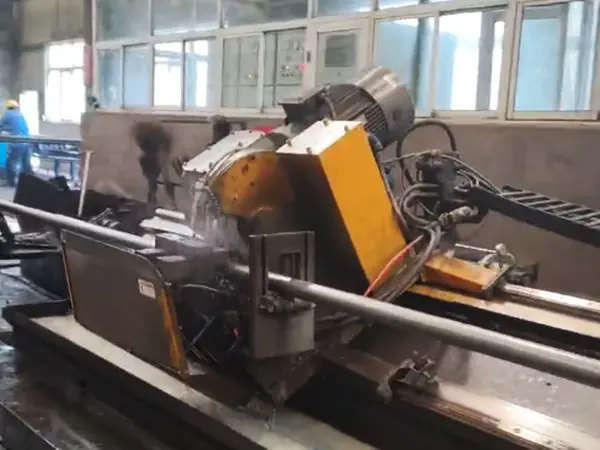
Equipment Case


Equipment Case


